Latest Posts

3.6.3.6 flagstone tessellation, Crease Pattern

3.6.3.6 Waterbomb / Flagstone Tessellation, Crease Pattern

3.6.3.6 flagstone tessellation, Crease Pattern

3.6.3.6 flagstone tessellation, Crease Pattern

If you are so inclined, I uploaded two different crease patterns for this design:

I’m really at somewhat of a loss on what to name these tessellations. If folded fully they become flagstone tessellations, ala Joel Cooper; if left three-dimensional, they are “waterbomb” style tessellations (although waterbomb is the wrong term for us to use here, but we’ll dispense with that argument for the moment.)

Regardless, this is a 3.6.3.6 tessellation- the old standard, triangles and hexagons together.

When you fold “normal” tessellations, the twists are always the dual of the tessellation you are folding. (For example, the 3.6.3.6 tessellation has a dual made up of rhombic stars- and the rhombic star tessellation, when folded, has hexagon and triangle twists, which most people actually think of as a 3.6.3.6 tessellation even though it’s really the dual of that…)

However, with these “waterbomb” tessellations, there seems to be a little bit of change due to the geometry involved. I still think they use the same “my twists are my dual” rule, but it’s a little different in how it folds out in the end, and I haven’t quite figured it all out yet.

This pattern (which I am currently folding) is really quite complicated to collapse. Much trickier than I thought it would be. However, I think the results will be quite interesting and worth the time spent.

It’s not really a full CP- many of the little creases for the hourglass shapes aren’t there- but I think you can figure it out if you fold these sorts of things.

Portland, Oregon sushi restaurant has origami tessellations?

I saw this story come up on my Technorati search feed on “origami tessellations”. How random is that? I’m guessing it’s tessellations of origami, and not the kind of tessellations that we do, but still it seemed interesting. I’ll have to try to remember to check this out if I’m ever in Portland!

Having enjoyed great success with its downtown location (406 SW 13th), Masu recently built a branch in Southeast. There, origami tessellations hang on the walls, and futons lay behind the chairs. At the gorgeous, wood-paneled sushi bar, the chefs move fluidly. Light glints off knives. Chopping sounds fill the air. The rich smell of the freshest fish available is everywhere.

Mmmm… Sushi!

Arms of Shiva, flagstone version (crease pattern)

Arms of Shiva, flagstone version (crease pattern)

Arms of Shiva, flagstone version (crease pattern)

Arms of Shiva, flagstone version (crease pattern)

This is a crease pattern of one of my designs[1][2] (which for the sake of convenience I have dubbed ‘Arms of Shiva’.)

However, this takes that design and throws it through the flagstonization machine, hinge-pleating all the folds to make the pattern you see above. While it might look like it is very wasteful of space (it is) there’s still less wasted paper doing it via this method than our normal straight pleat-and-twist methodology. Go figure!

I would love to see this folded, in case there’s anyone out there feeling intrepid enough to give it a try…

(update: I folded it, eventually!)

Thinking Sketches - 3.4.6.4 Waterbomb-Flagstone Tessellation

Thinking Sketches – 3.4.6.4 Waterbomb-Flagstone Tessellation

Thinking Sketches - 3.4.6.4 Waterbomb-Flagstone Tessellation

Thinking Sketches - 3.4.6.4 Waterbomb-Flagstone Tessellation

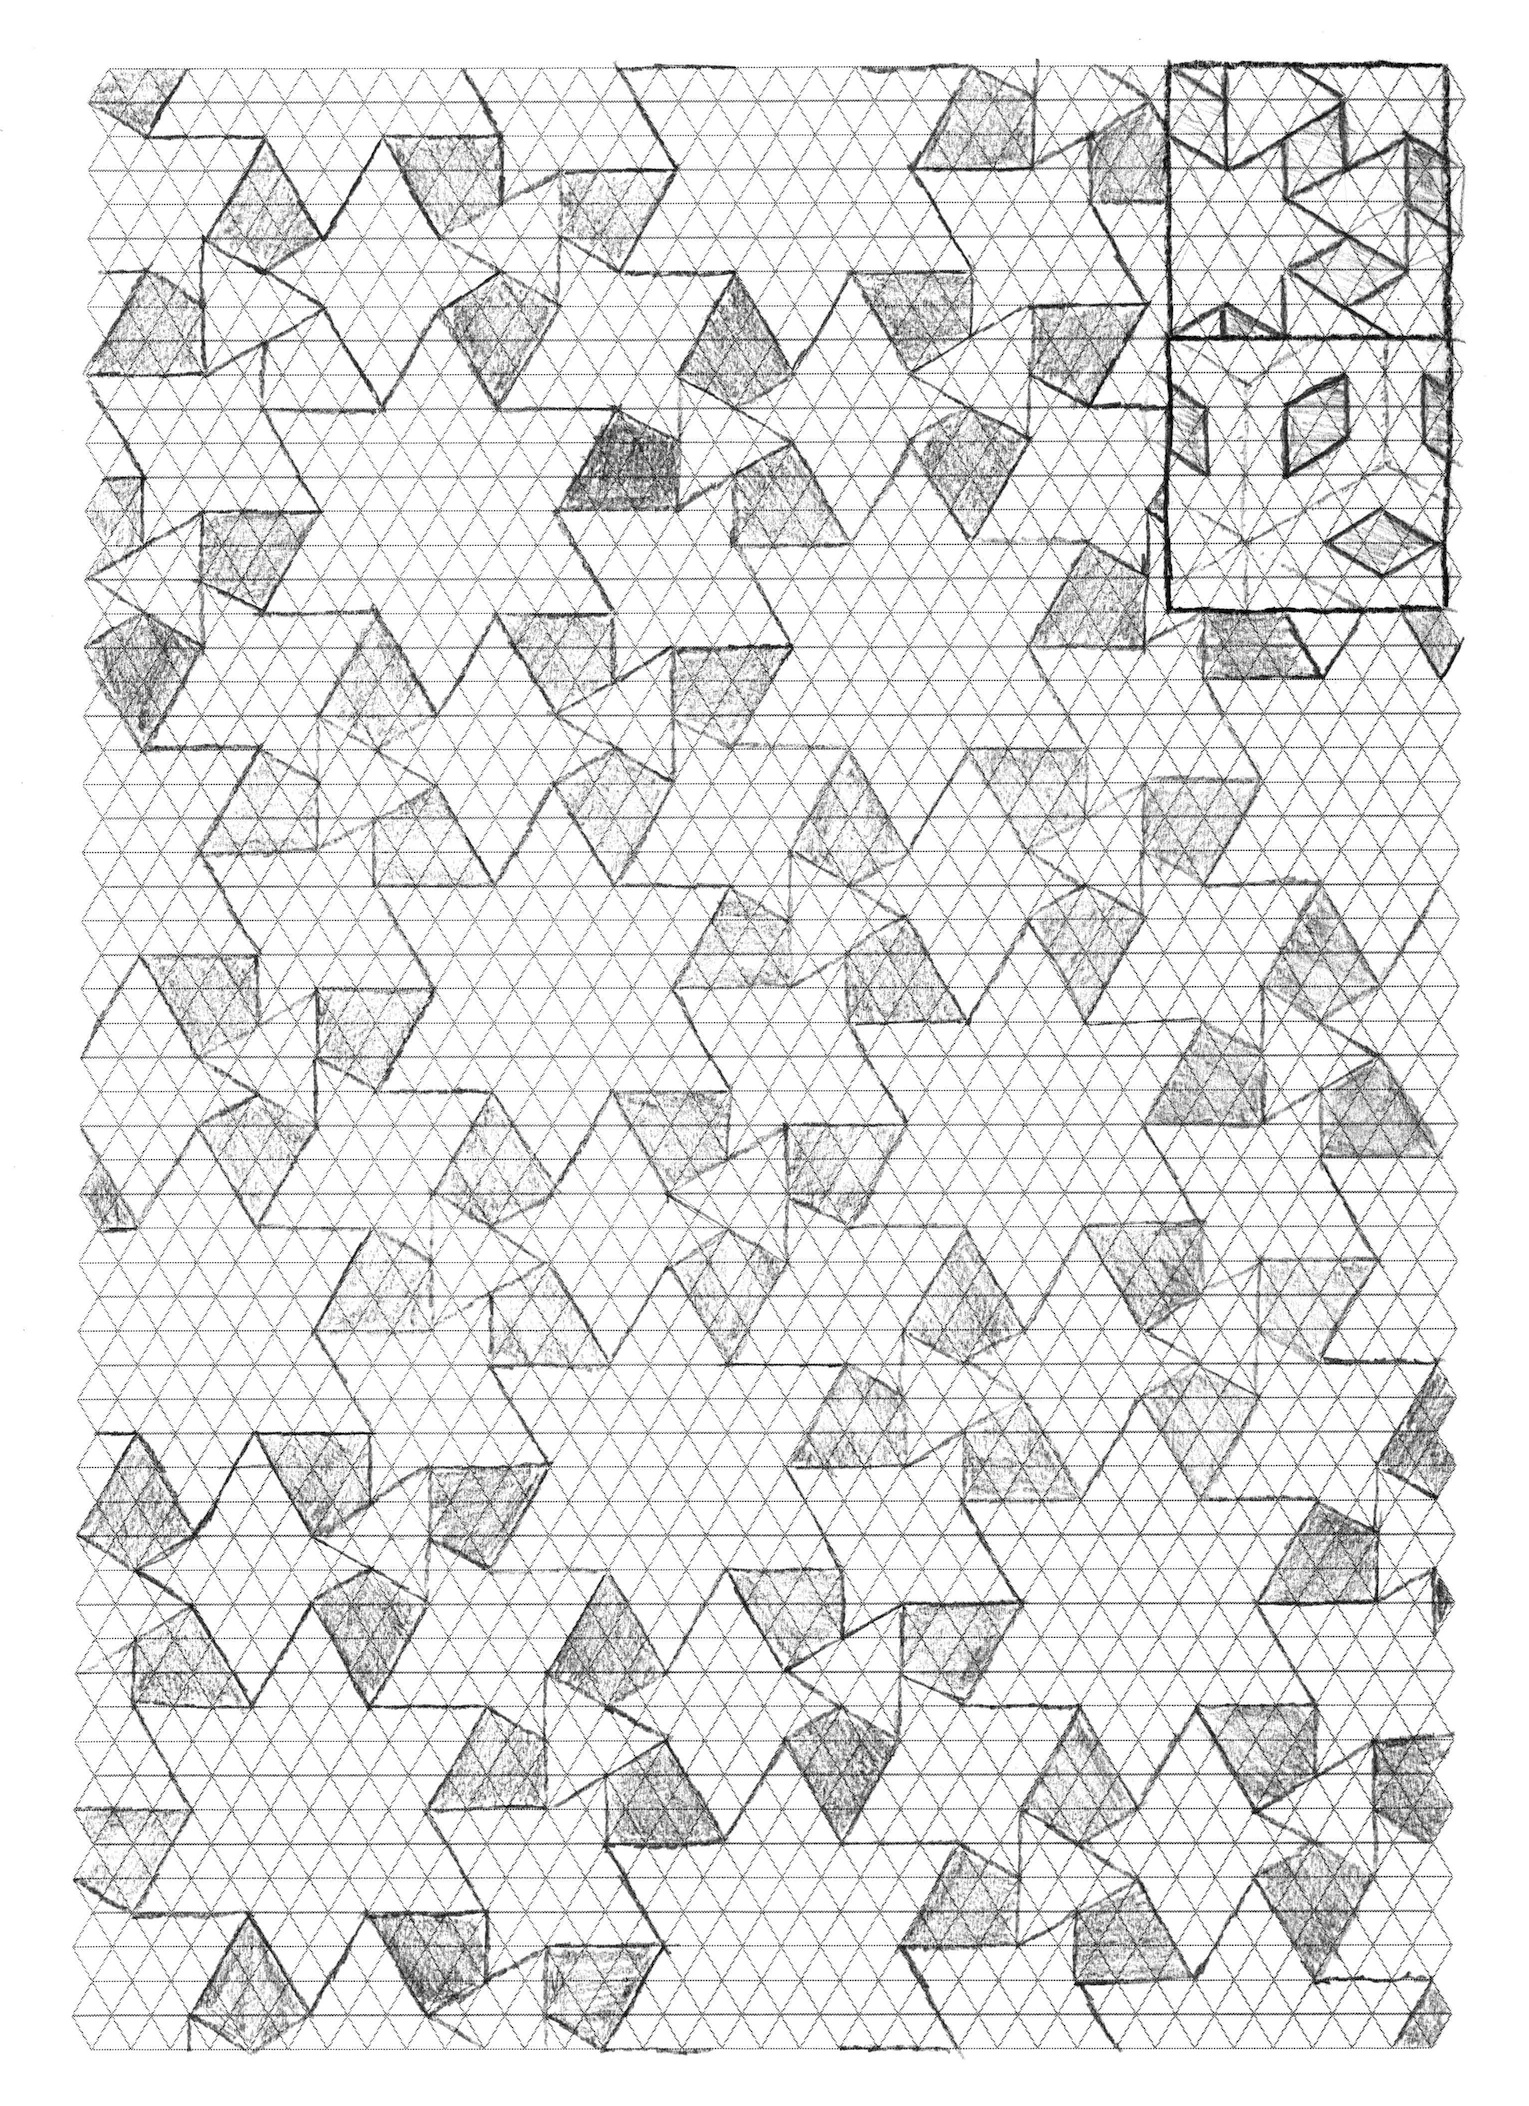
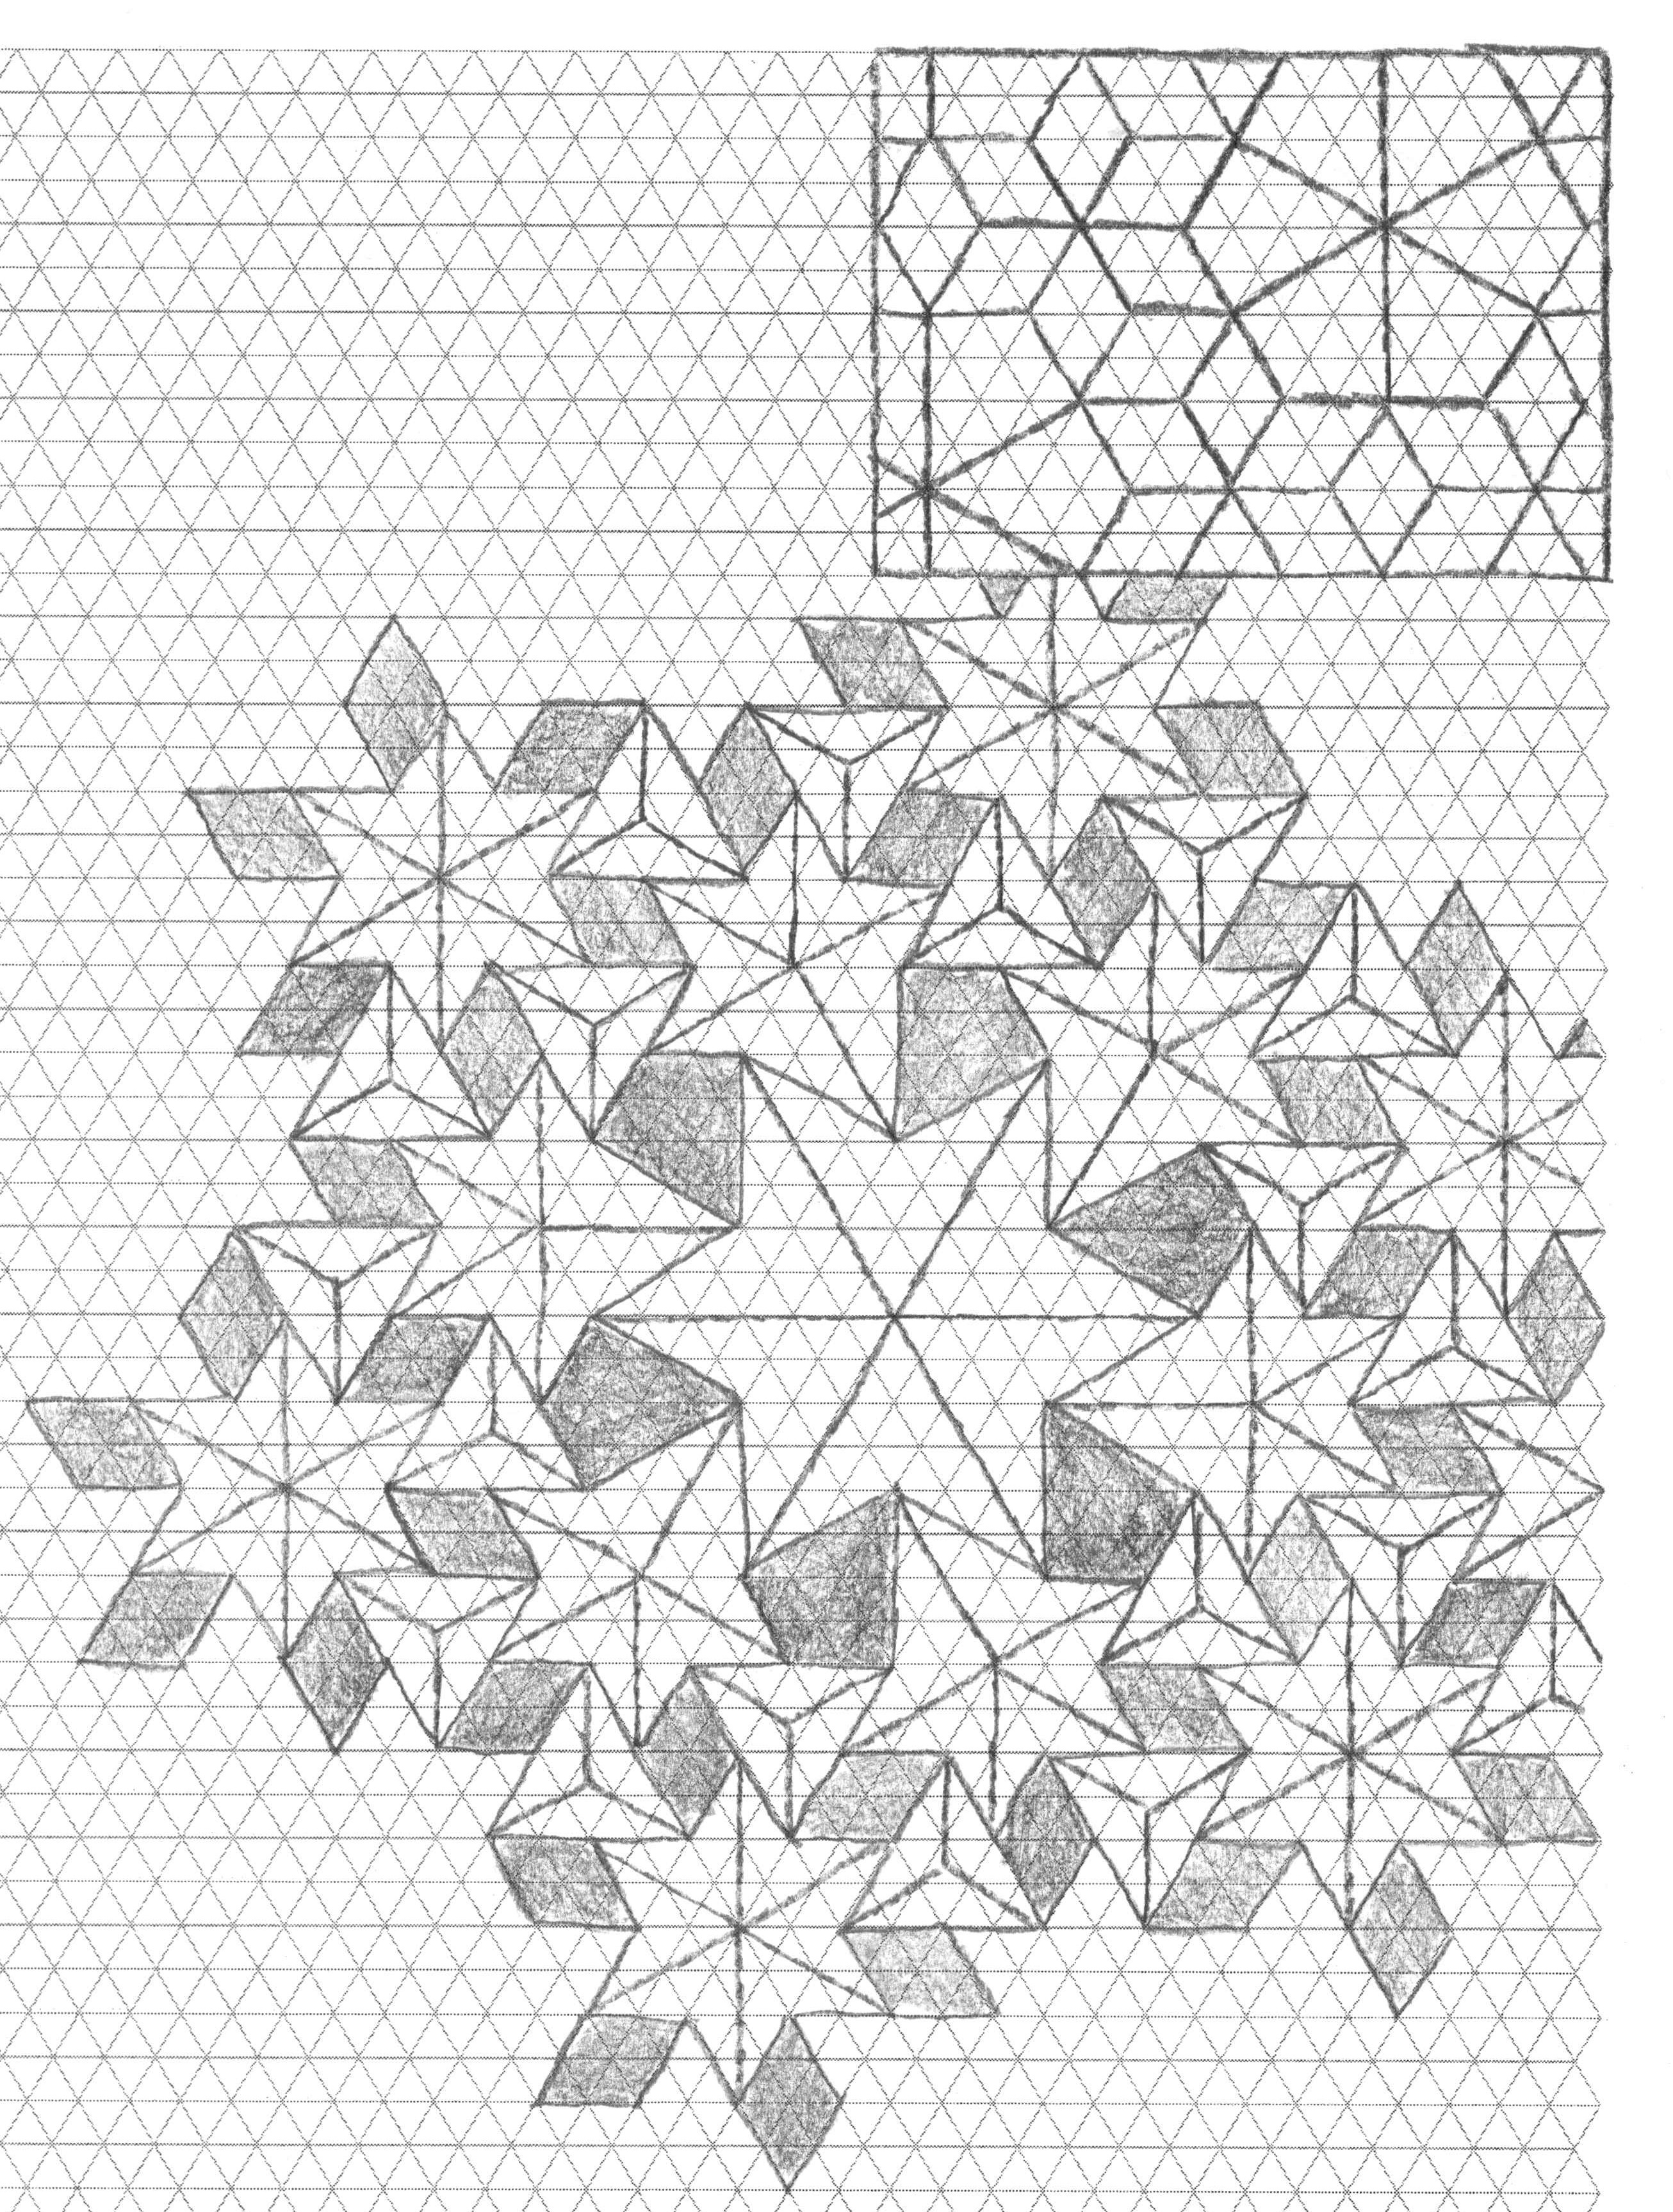
Here’s a rudimentary sketch of a 3.4.6.4 “Flagstone” tessellation. Formed by creating the initial “waterbomb” type collapses, and then twisted to form the familiar flagstone style tiling. I did not draw the lines for the WB collapses but I’m guessing you can figure this out if you have any idea what I’m talking about, right?

More info on all this soon. I’m writing something down but I keep finding myself hamstrung by lack of proper wording and also some gaps in understanding.

In the little box sketches in the upper right, you can find two examples of a rhombus tiling (the dual of the 3.6.3.6 tessellation) that have been done as a normal straight-pleat tessellation, and then as a flagstone style tessellation.

If we adhere to using just the grid and it’s main offset lines (in this case, 30 degree angles) the flagstone style pleating is more efficient in terms of total area that one can tessellate given a particular number of pleats. Of course, the hinges that connect the flagstone polygons together can be as far apart as you want, or as close together as you want, between 180 and 0 degrees. And, with that, the smaller the angle of the hinge fold between the flagstone polygons, the more efficient the use of paper is. There’s a correlation here between complexity of folding and pleat width, though, so I wouldn’t suggest making them too small or you’ll have a very hard time folding them. The same sort of pleat shrinking applies to the normal straight pleating style, but apples to apples I think the flagstone method is less wasteful of space and paper.

So after playing with all this for a while I’ve realized that almost every flat tessellation I have folded can be re-folded as a flagstone tessellation, which changes the nature of the design by quite a bit. This is some interesting grounds for exploration and adaptation, in my opinion.

Thought I’d share this with you, in case you find it interesting too.

-Eric

UPDATE: here’s a selection of images of this design, folded. It’s beautiful!

Pecten Magellanicus, Redux


Pecten Magellanicus, Redux

Originally uploaded by EricGjerde.

A while back I folded a three-dimensional shell shape from some pleats, which I called “Pecten Magellanicus” (Sea Scallop), mostly due to the fact that it really looked like one.

I really liked the initial piece I did, and I wanted to see it realized on a larger scale. There’s a lot of pleating involved, so I decided to start off by folding four of them together, and then see where I wanted to take it from that point.

Here’s the initial version:

Pecten magellanicus, work sketch

However, in creating the second version, I didn’t properly sort out the ratios for the pleats. On the initial sketch, the rectangles that are used to create the pleat fan have a ratio of 2:9, for width:length. This made the shell shape fold almost flat when made with 7 pleats. On the larger version, I made a miscalculation and it ended up closer to a ratio of 1:5, which means the pleat fan extends farther upwards and is not as close to the flat plane of the paper on the ends. Thus the difference in the sides on this piece compared to the initial work sketch. Oops.

Anyway, this piece really isn’t close to finished, there’s a lot more that needs to be done with it. I’m not really happy with the ends of the pleat fans, so something needs to change there. There’s also a lot of extra paper and pleats in the middle that should probably have something interesting come out of it- no reason to leave good pleat space empty. Also, the whole thing hasn’t been wetfolded at all yet, so nothing is locked into place or flattened yet- thusly the bulbous appearance. Once it’s finished it should properly lay flat.

Just thought I’d share this with you since it’s going back into the “unfinished” box until after the New Year. Too much work to do right now to play with this any more, and give it the time it deserves to come out right.

-Eric